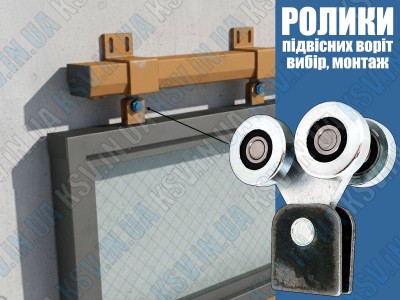
Mounting Brackets for Hanging Gate Tracks
Track mounting brackets are perhaps one of the most useful yet underrated solutions in the gate industry. These components combine two critically important functions, turning an ordinary structure into an ultra-reliable system.
Why Use Mounting Brackets?
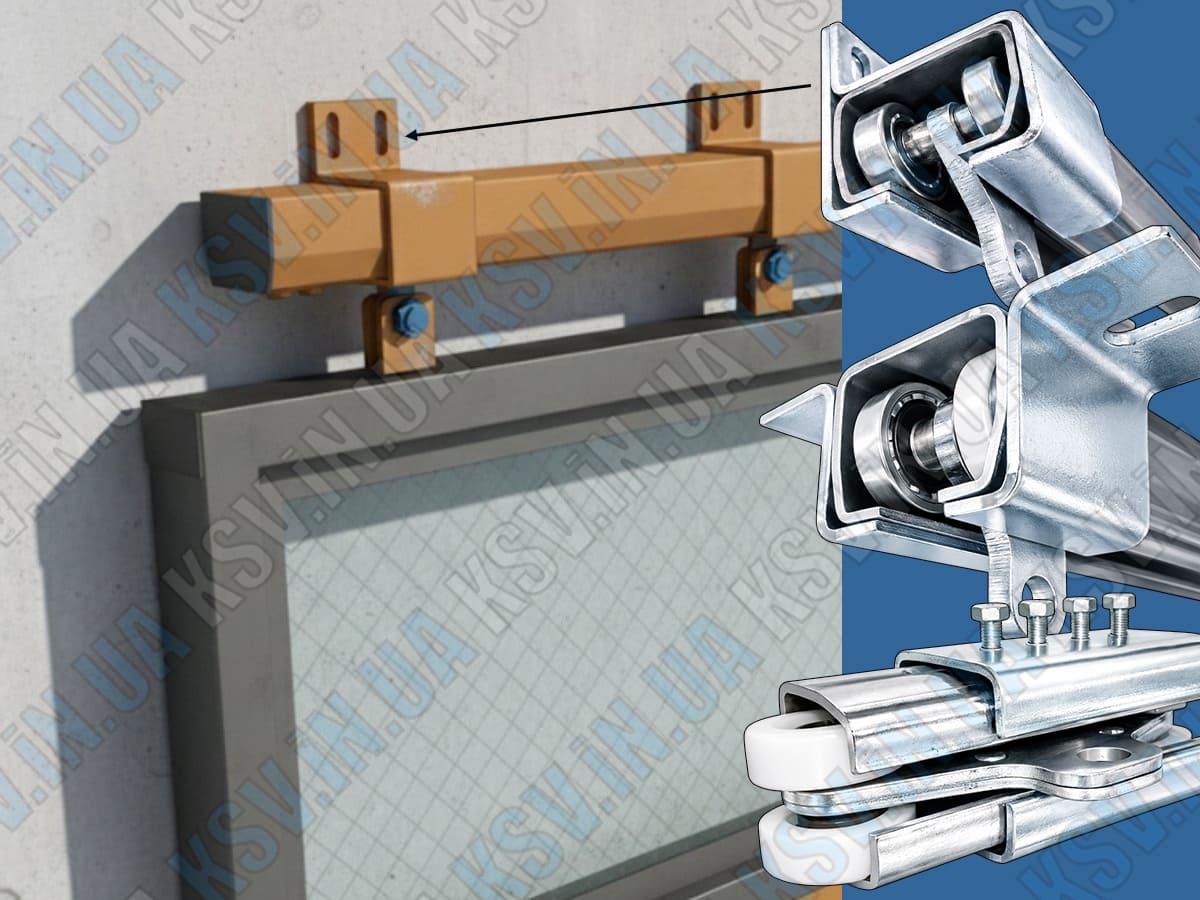
1. Simplified Installation You eliminate the need for welding in hard-to-reach places. Simply install the brackets on the track and fix them to a vertical (wall) or horizontal (ceiling) surface.
2. "Heavy-Duty" Track Effect The bracket tightly grips the profile. Under load, the lower walls of the track rest against the bracket body. This prevents metal bending even when working with heavy gate leaves.
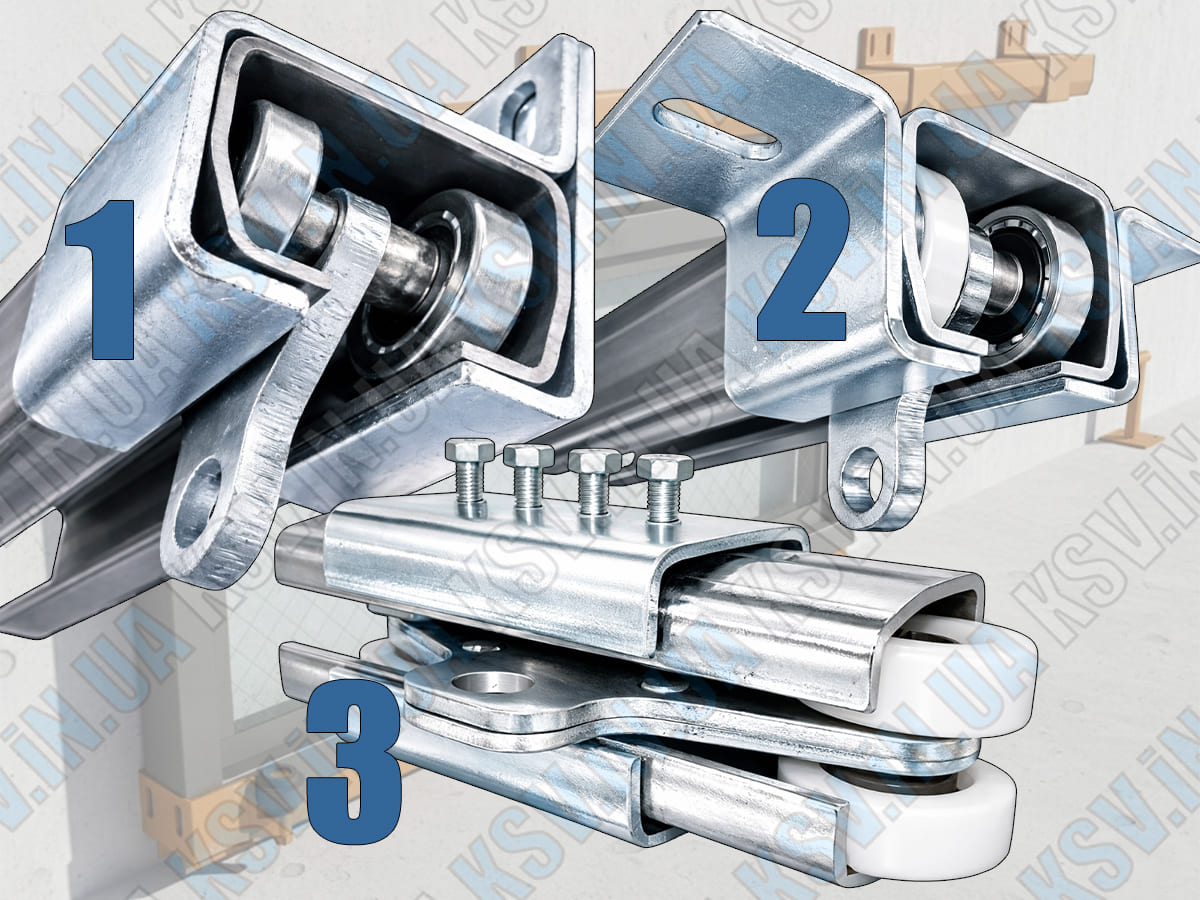
Types of Brackets for Hanging Systems
| Bracket Type | Application | Key Features |
|---|---|---|
| #1 Wall-Mount | To vertical surfaces | Installation along the building facade. |
| #2 Ceiling-Mount | To horizontal surfaces | To ceilings or inside openings. |
| #3 Connecting | Joining two tracks | Assembling long lines without welding. |
Installation Algorithm by "KSV Systems"

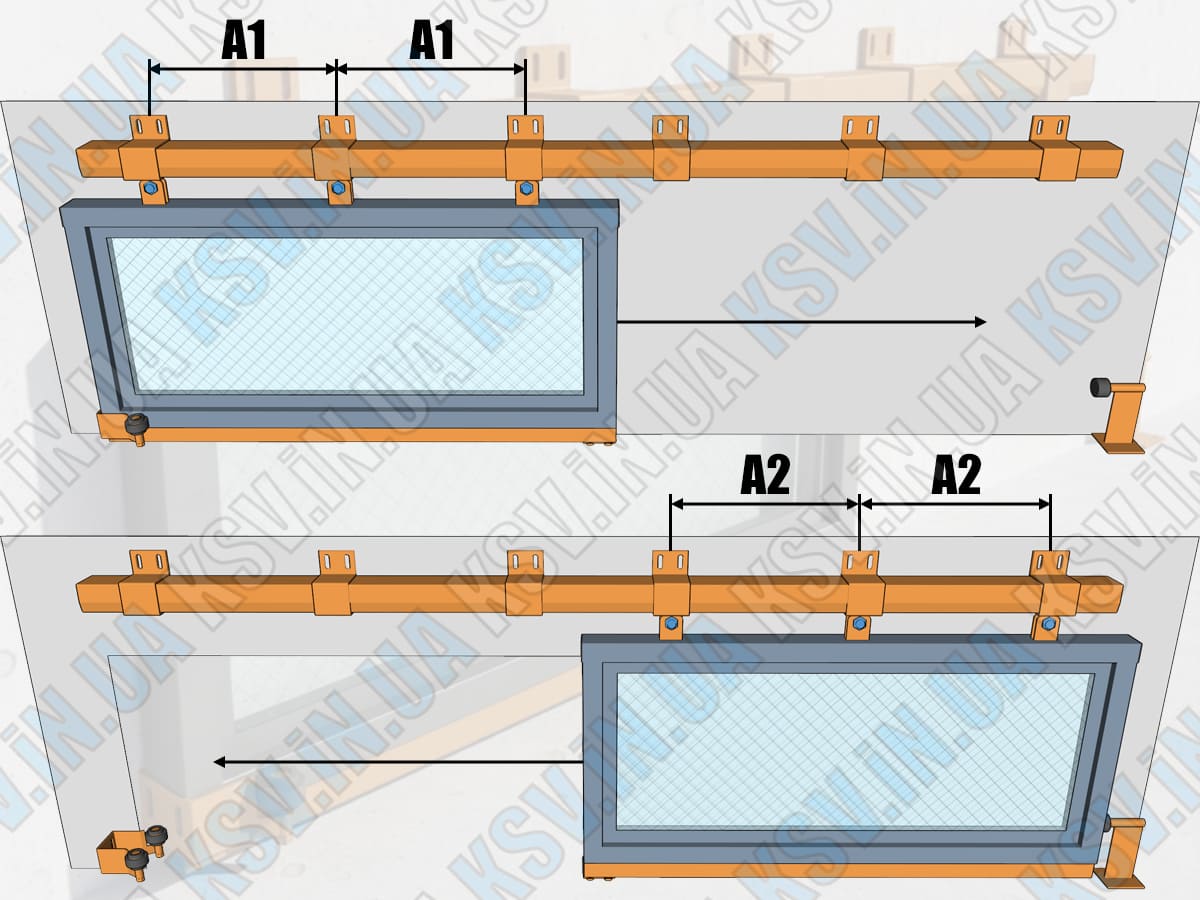
To ensure your gate serves for decades, it is crucial to follow the installation technology and the correct mounting step:
- Zoning: Divide the track into the opening zone (A1) and the rollback zone (A2).
- Mounting Step: The optimal distance between brackets is 50–75 cm.
- Pivot Point Rule: In the extreme positions (fully open/closed), the roller carriages must be located exactly under the brackets.
Need an accurate calculation?
Hanging and Sliding Gate CalculatorCalculate the number of brackets and get the required installation dimensions online.
Summary: Using mounting brackets makes the upper track virtually everlasting. Unlike cantilever systems, physical deformation of the profile under the weight of the gate is impossible if the installation technology is followed.
You can choose reliable hardware in our catalog:
Hanging Gate Hardware


")
")